Creating a Connectana Card on Web
Step 1: Go to the Add card button at the top right corner of the screen or the button on the screen landing page.
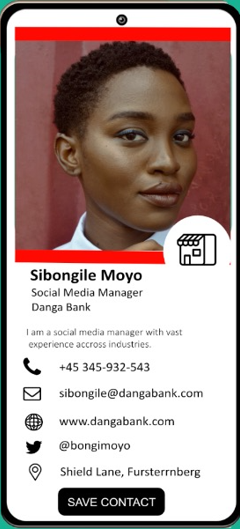
Step 2: Fill in your details under the titles.
Step 3: Add your picture - Personal or Business (Personal is more appropriate for personal cards and Generic business for generic business cards).
Step 4: Make sure you add a title to your card so you know which card is which when sharing (Business or personal cards especially if you have multiple cards).
Step 5: Add your company logo.
Step 6: Customise the colour of your card to your company brand colours or add your personal favourite colour if its a personal card.
Step 7: You can put a short personal note or profile if you choose.
Step 8: Add your email and mobile or telephone number.
Step 9: You may add other links and details by choosing what you would like to add on the card from the various options. You can add more than one if you please. Including links to calendar bookings, menus, priceless and so forth. You may also add all your social media profiles.
Step 10: Make sure you check all your details.
Step 11: Save your card.
Step 12: Make sure you check all your details again.
Step 13: Your card is ready for sharing.
Step 14: Spread the word. Tell someone to get a Connectana Digital Card now.