Creating a Card for your users/employees in the Connectana Company Account

Step 1: You cannot access a Connectana Company account via APP. You can only access Company accounts via Web Access only for security purposes.
Step 2: Login to your Connectana Account.
Step 3: At the top right of your website you will see the account name and the title “INDIVIDUAL or COMPANY” to show whether the account being administered is an individual account or a Company account.
Step 4: To add cards to a company account you must buy 5 or more company users seats.
Step 5: Once you purchase seats to enable a company account go to create card from the main dashboard.
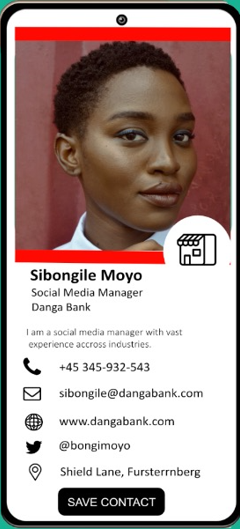
Step 6: Make sure you add a title to the created card so you know which card is which when sharing (Name after the Employee or User you would like to assign the card to).
Step 7: Add the individual’s picture or place a placeholder image.
Step 8: Add your company logo.
Step 9: Customise the colour of the card to your company brand colours.
Step 10: Add the user’s email and mobile or telephone number.
Step 11: You may add other links and details by choosing what you would like to add on the card from the various options. You can add more than one if you please. Including links to calendar bookings, menus, priceless and so forth. You may also add all the user’s social media profiles.
Step 12: Make sure you check all the user’s details.
Step 13: Save the user’s card.
Step 14: Make sure you check all the details again.
Step 15: The card is ready for allocation to the user so that they can claim and set up an account and share their card.
Step 16: Invite the user to claim their card.
Step 17: Spread the word. Tell someone to get a Connectana Digital Card now.

